System Settings
For all the following procedures,
Smart Panels for JIRA App must be installed on your JIRA server with a license or trial license (see our Installation Guide for detailed instructions).
You must be logged in as a user with the Jira Administrators global permission.
Enable Smart System Panels
Choose :cog_icon: > Manage apps
In the section SMART PANELS, select System Settings
There are three options for three System panel types: Sub-Tasks, Issue Links, and Issues in Epic panel.
Switch On: enable Smart System Panel’s feature
Switch Off: disable Smart System Panel’s feature. Using the default Jira built-in panels

The initial settings after installation of the Smart Panels for Jira app are Off for all three Smart System Panels.
Edit Smart System Panel Template
Choose :cog_icon: > Manage apps
In the section SMART PANELS, select System Settings
There are three options for three System panel types: Sub-Tasks, Issue Links, and Issues in Epic panel.
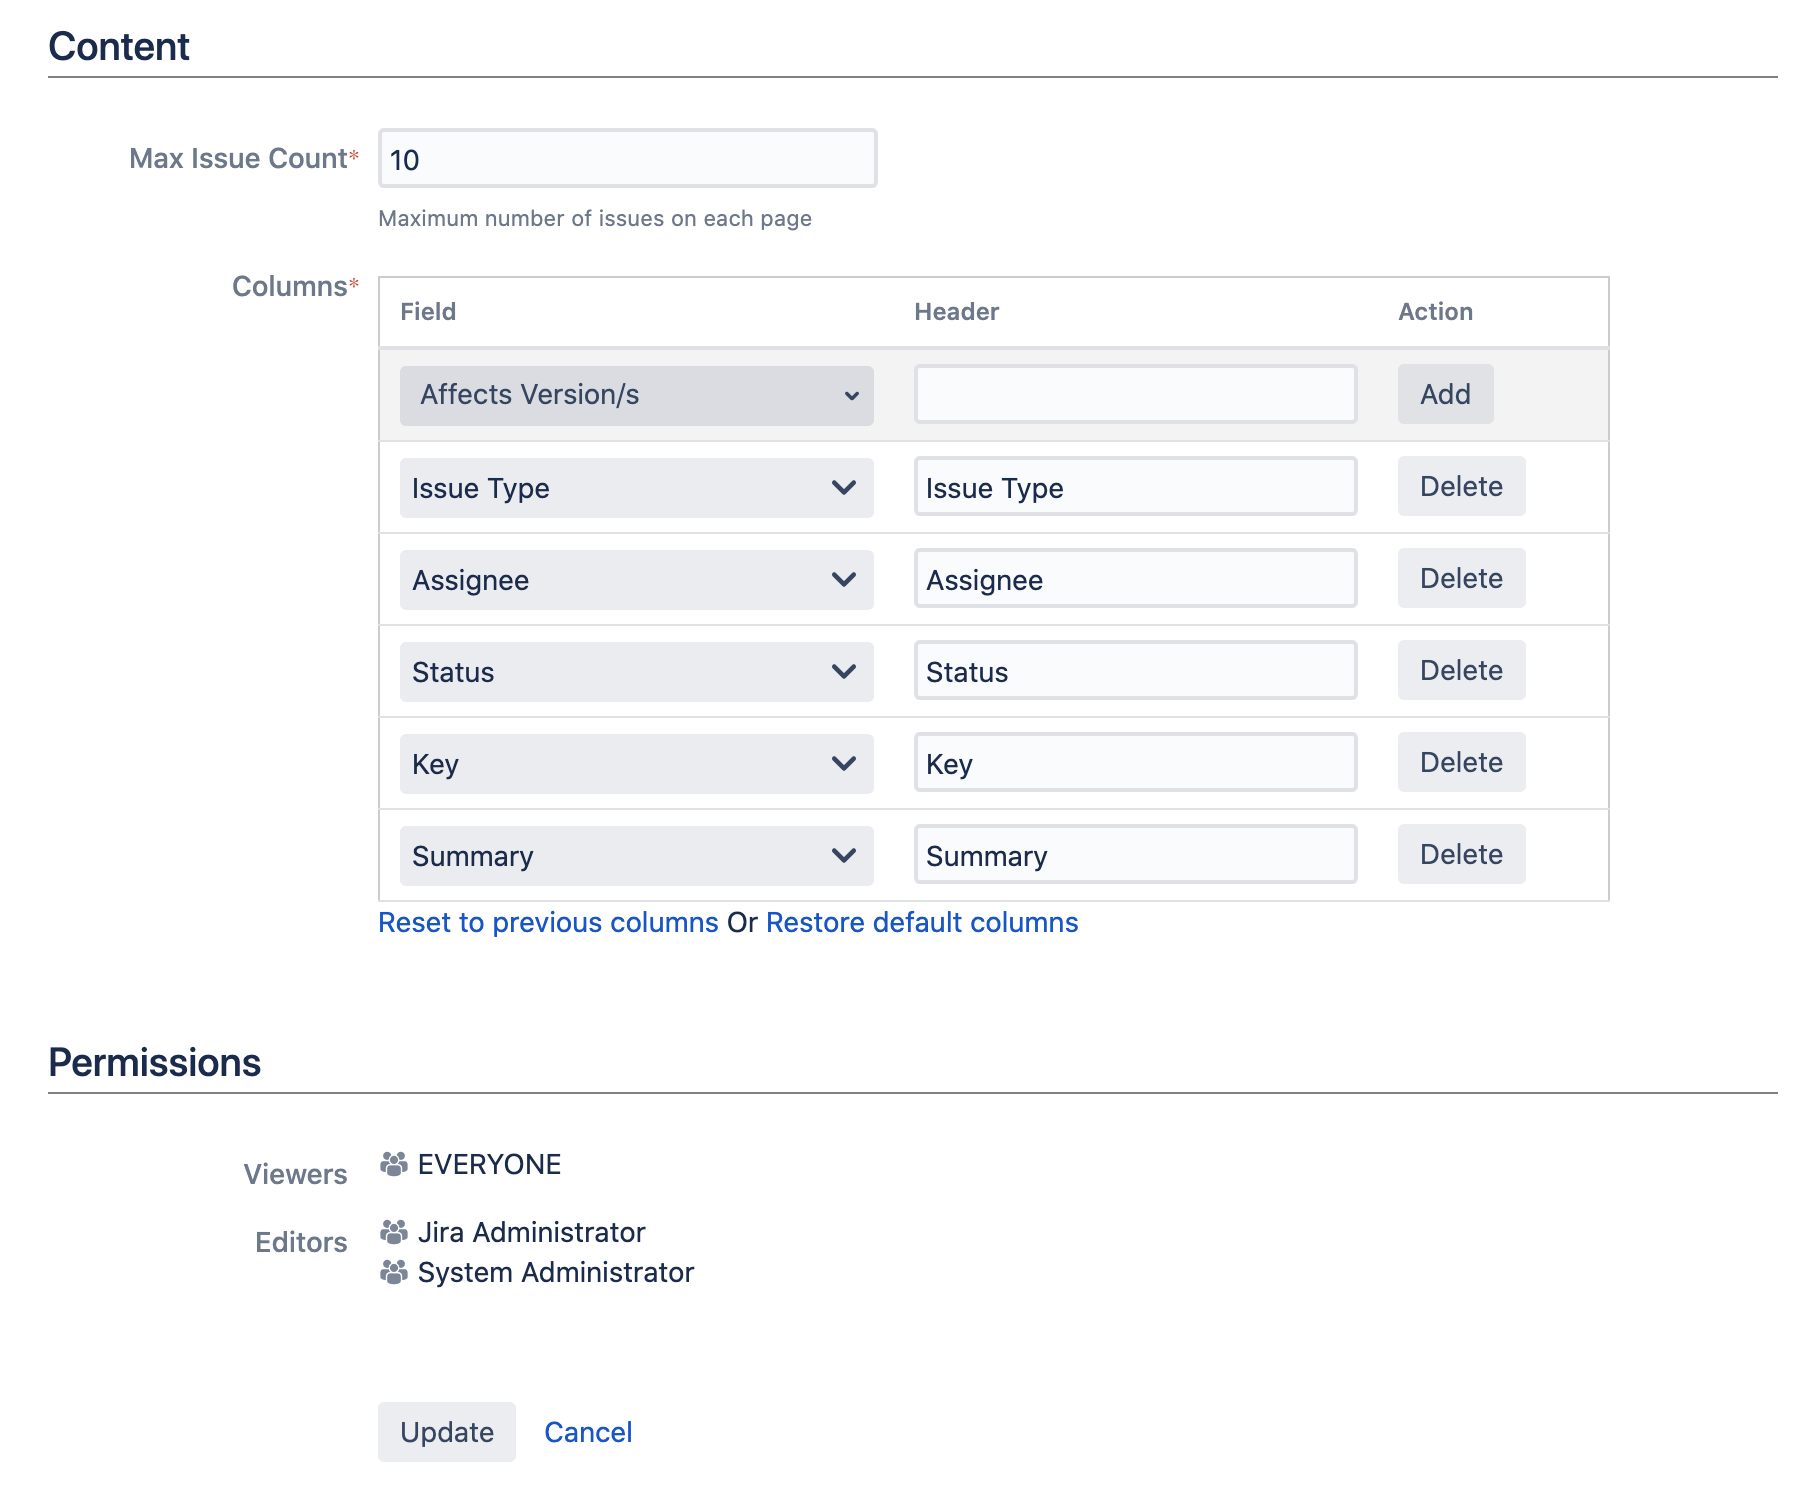
Click the icon :edit_icon_pen: to edit the Template to edit Smart Sub-tasks Template, Smart Issue Links Template, Smart Issues In Epic Template.On the Edit Panel Configuration page, use the form to configure the attributes of the panel:
Section | Parameter | Description | Additional Information | Required |
|---|---|---|---|---|
Content | Max Issue Count | Choose the maximum issue number on one page. Use pagination to avoid overcrowded panels. | Default: 10 | Yes |
Columns | Select the metadata of the issue to be displayed. Optionally customize the header. |
| Preset | |
Permissions | Viewers | Grant permission to view the panel to certain groups, project roles, etc. | Cannot editable. The default is EVERYONE | Preset |
Editors | Grant permission to edit the panel. | Cannot editable. The default is Jira Administrator and System Administrator | Preset |
5. Click Update and you will be redirected back to the System Settings page

