
The following guideline explains how to set up Tenant configuration in Q12-TMT for Jira to view a comprehensive list of all users, groups and projects in your Jira instance. Read this section to discover additional features accessible from the 'App settings'.
For all the following procedures,
-
Q12-TMT for Jira must be installed on your Jira cloud (see our Installation Guide for detailed instructions).
-
You must be logged in as a user with the Jira Administrators global permission.
Follow the steps below to access the Tenant configuration:
-
During setup, Tenant configuration was accessible directly via: Configure.
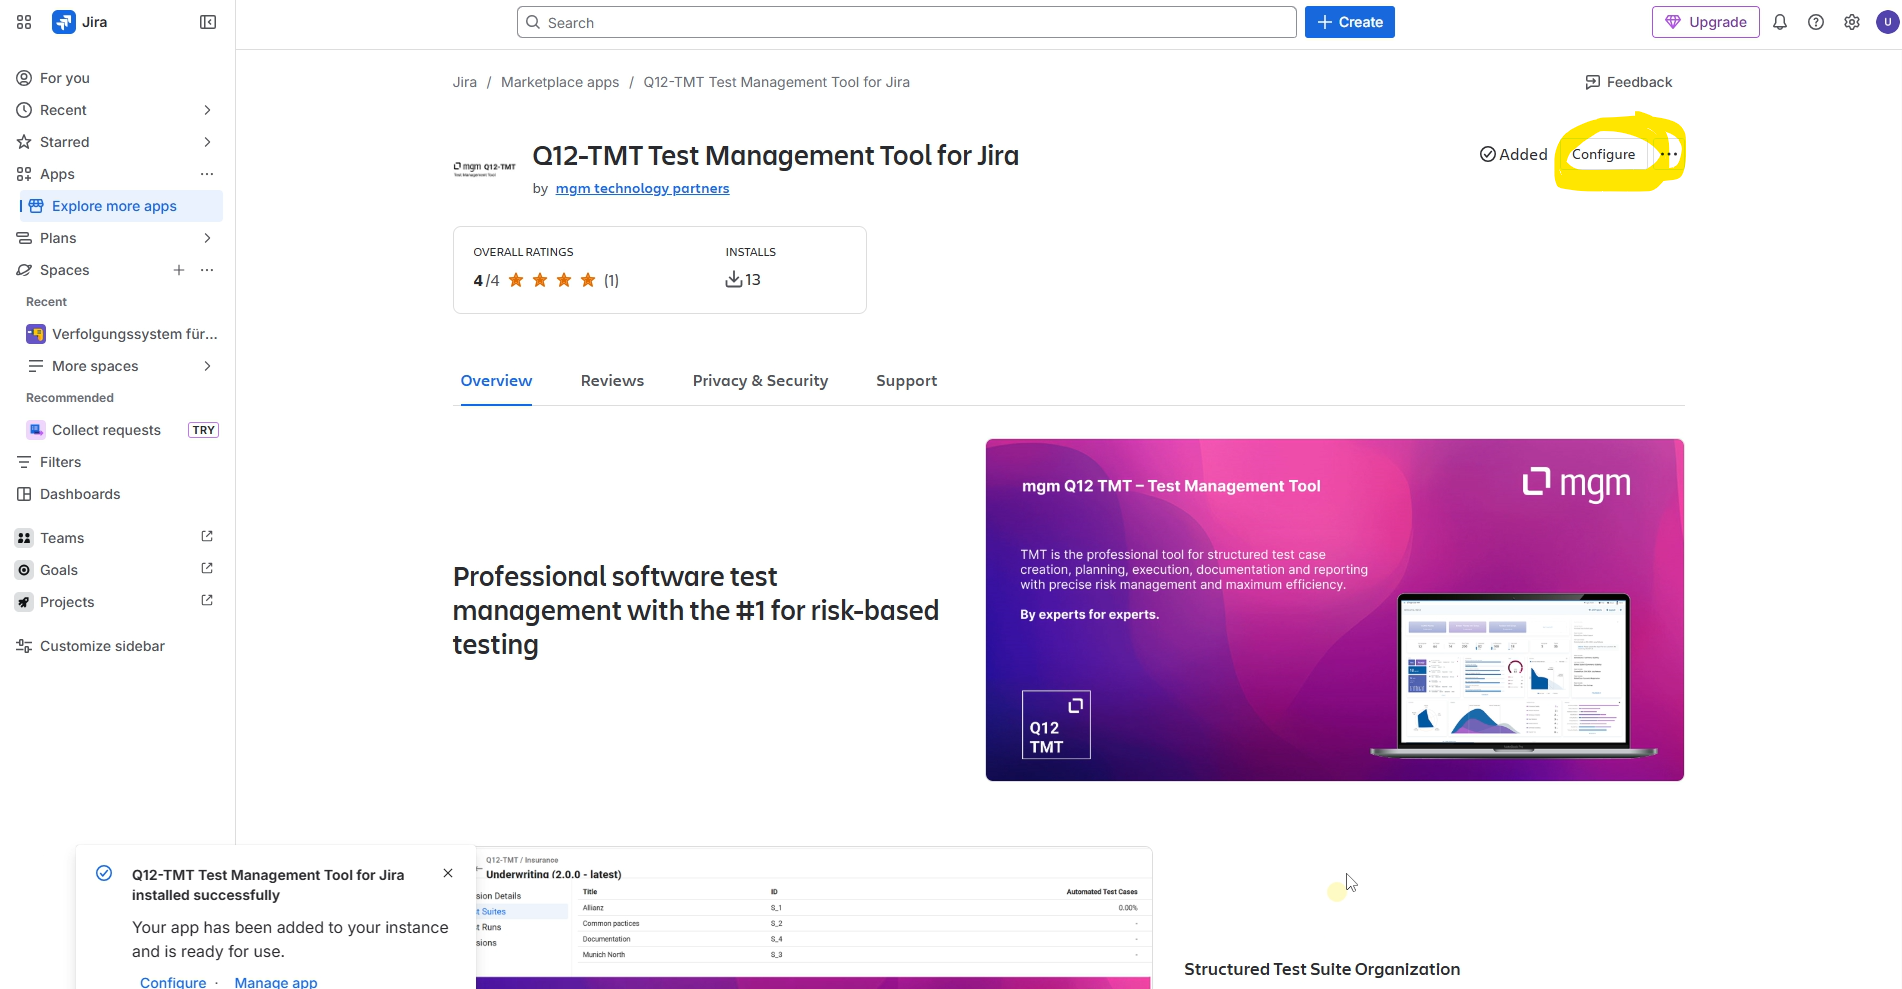
-
The Tenant Configuration page will be displayed. Click Edit next to the TMT Tenant URL field.
-
Enter the appropriate TMT Tenant value and click Save.
- Additionally, navigating through App Settings -> Manage Apps did not provide access to the Tenant Configuration page as described in the guide.
- Following that navigation path, Jira displays the following site: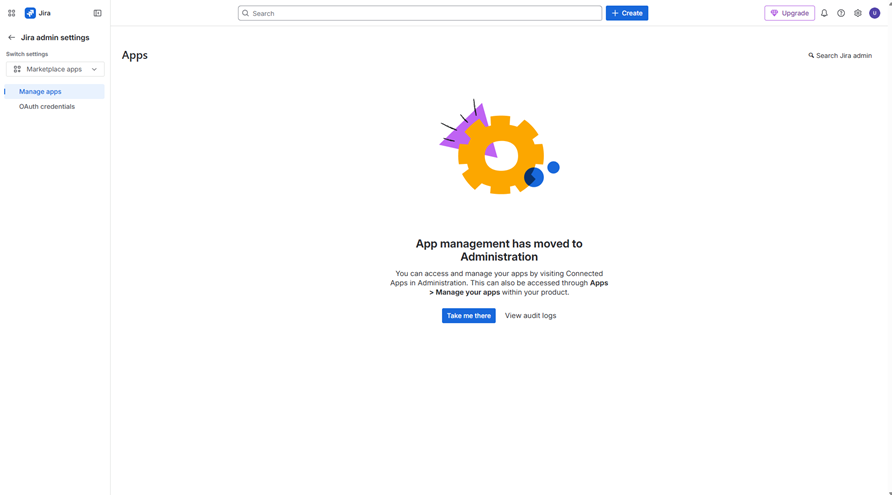
- As a result, the navigation path described in the documentation is no longer valid and does not lead directly to the Tenant configuration page.
- Actual path to the Tenant Configuration: Navigate to App settings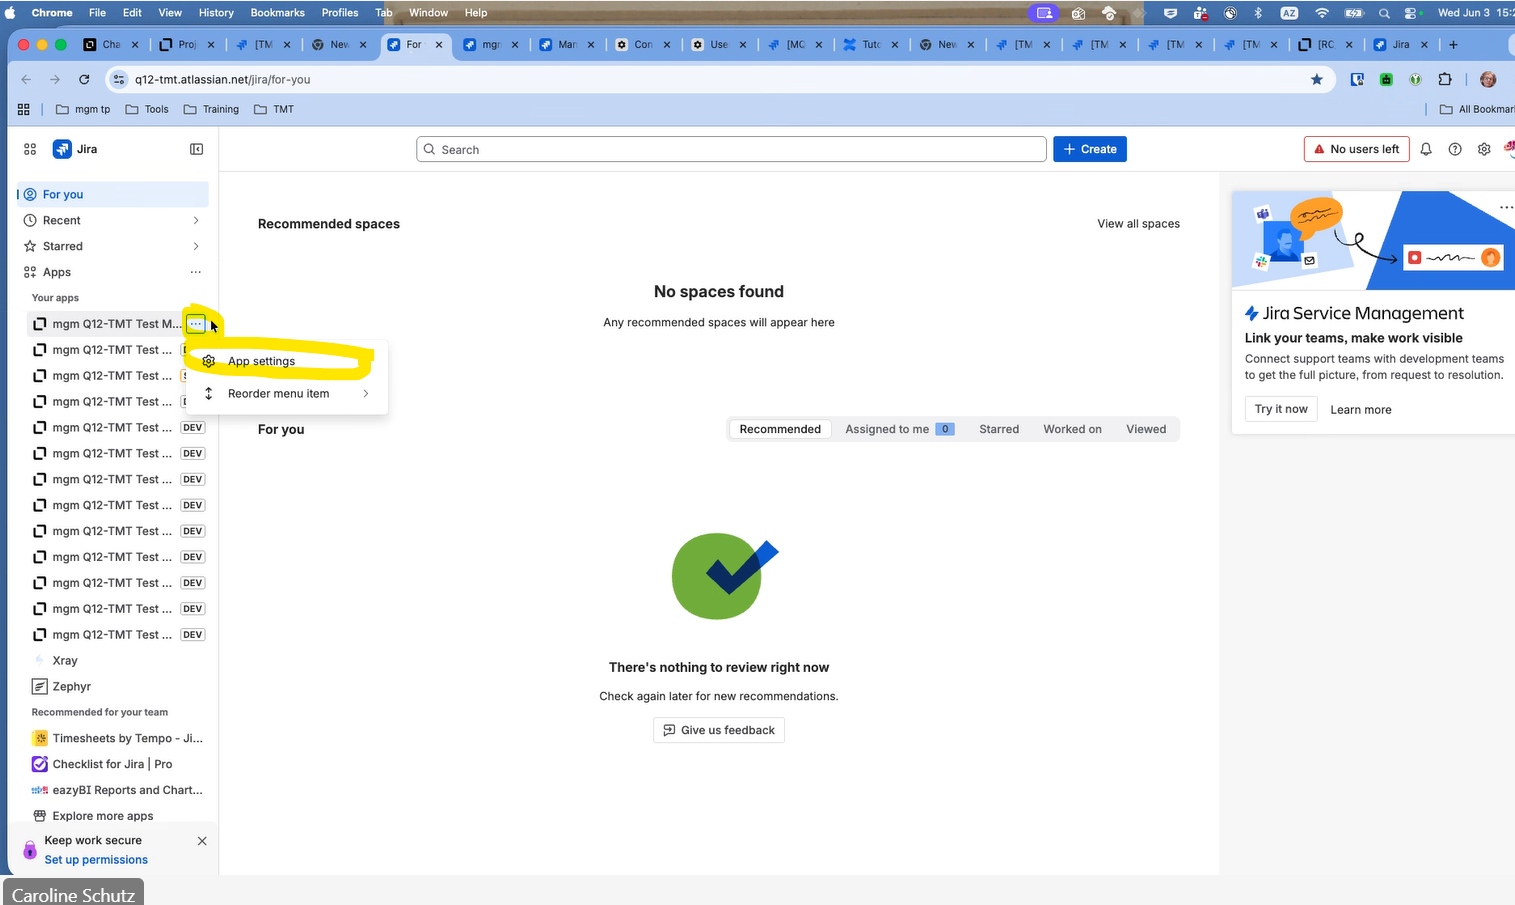
Upon saving, the TMT Tenant will be successfully connected to Jira. Once a TMT user logs into Q12-TMT for Jira, they will be able to view their assigned TMT projects directly within Jira.